
Music Editor Free › How-To Guides › How to Change Audio Sample Rate on Windows
How to Change Audio Sample Rate on Windows
Choose a new sample rate in the export dialog and save a converted copy.
Download Free Software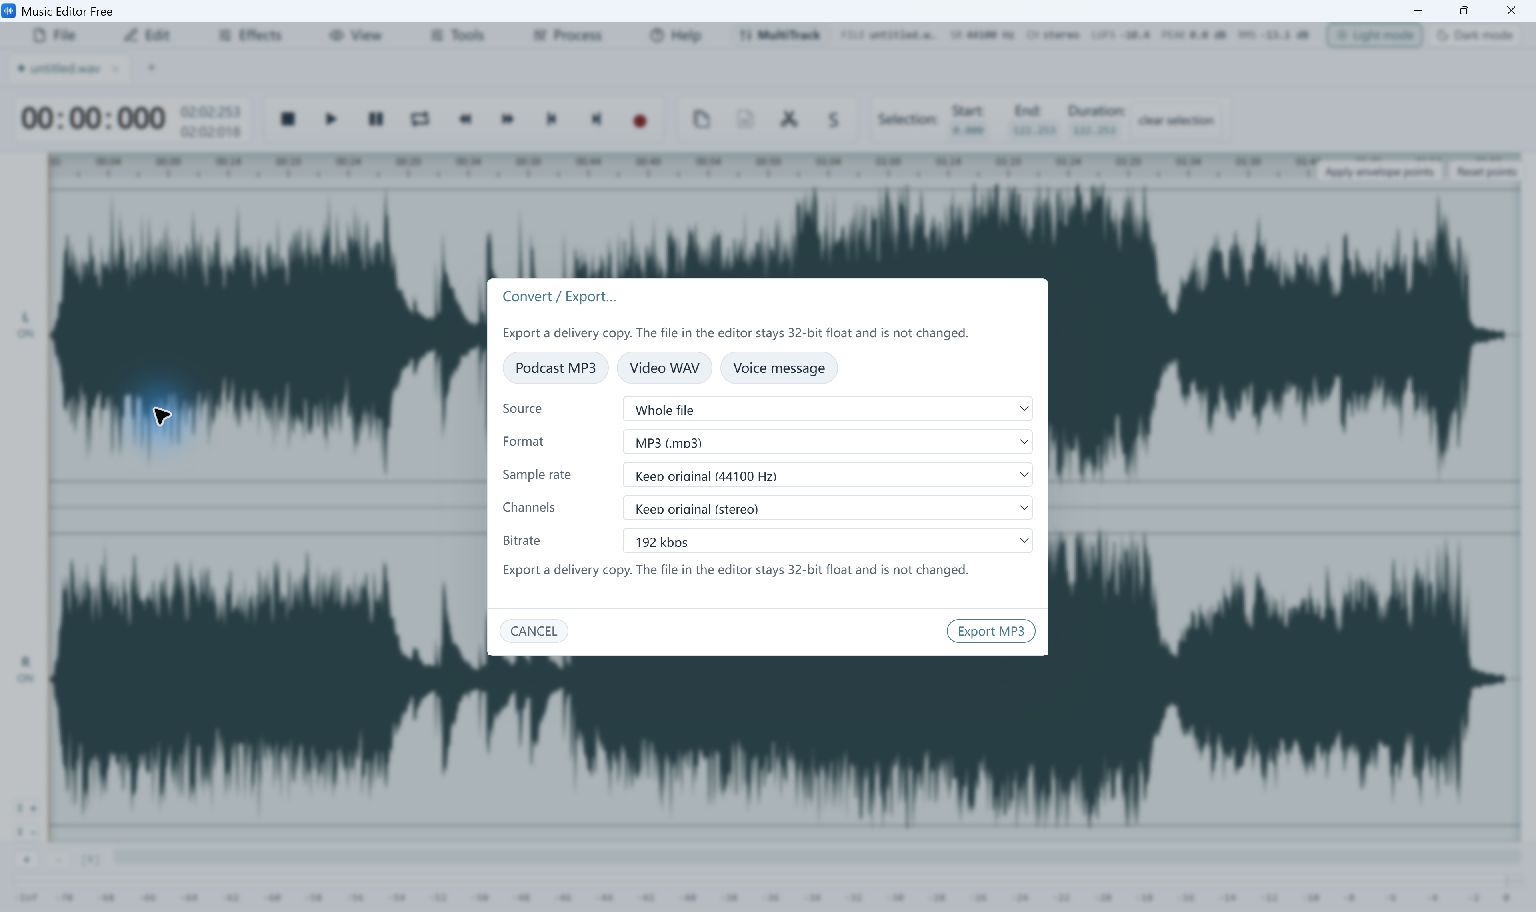
Resample Audio in Five Steps
- Open the Audio File
Choose File → Open… and select your recording or music file. Keep the original at its existing sample rate.
- Open Convert / Export
Choose File → Convert / Export…. Leave Source on Whole file unless you only need a selected passage.
- Choose the Output Format
Pick a format accepted by your next application. WAV is a practical working format when you want to avoid another lossy compression step.
- Set the Sample Rate
Change Sample rate from Keep original to the value your project requires. Review Channels as well, and leave it unchanged unless you need mono or stereo conversion.
- Export and Check
Click the export button and save a separate file. Open the result in your target application to confirm it accepts the rate and channel layout.
Choose the Rate Your Project Requires
44.1 kHz is common for music delivery, while 48 kHz is common in video workflows. Follow the destination’s requirements rather than increasing the number just to make it larger.
What to Check Before Saving
Resampling changes the number of samples used to represent the audio. Increasing the sample rate does not restore detail that was absent from the source.
The first compressed-audio export may prepare a component download. See system and installation requirements.