
Background hiss, fan noise and steady room hum can often be reduced on Windows 11 by sampling a short section that contains only the unwanted sound, applying noise reduction conservatively, and then checking the result on headphones. The goal is not absolute silence—it is clearer speech or music without metallic artifacts.
This tutorial uses Music Editor Free, a Windows audio editor developed by our team. Menu names vary between editors, but the noise-profile workflow is broadly applicable.
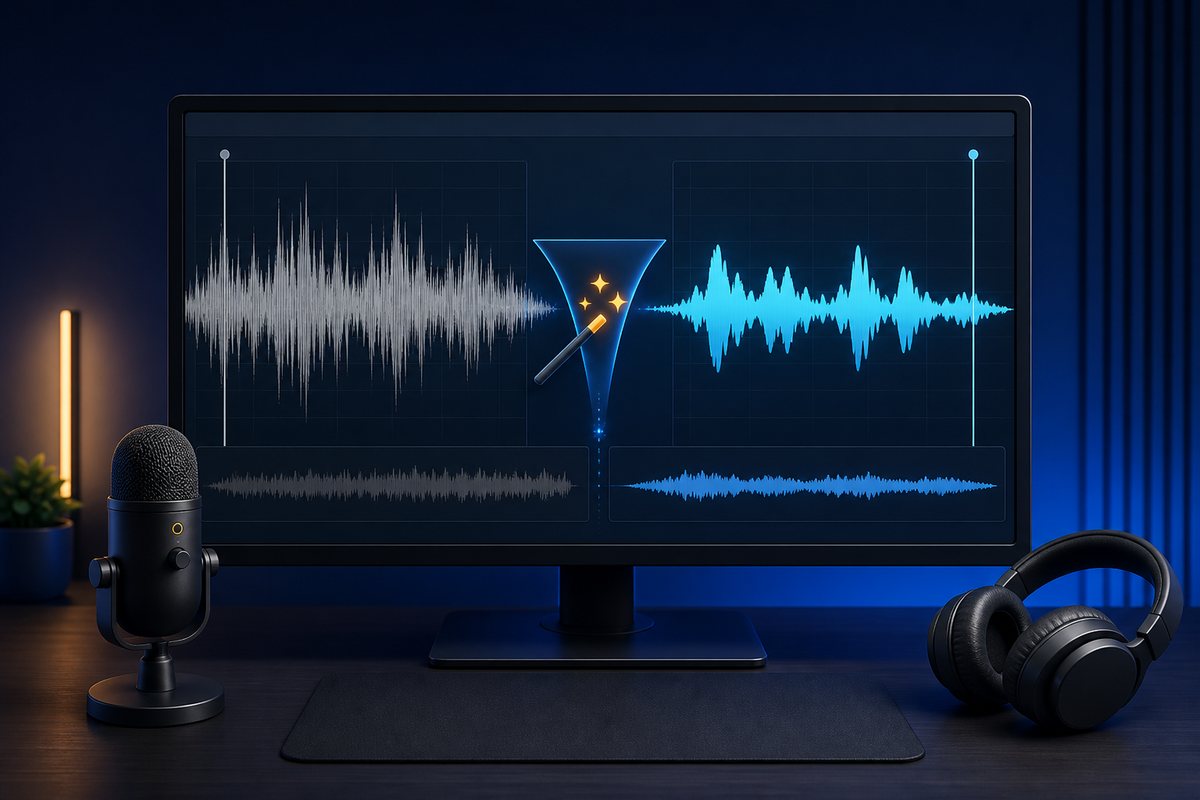
Quick answer: remove background noise in six steps
- Work on a copy of the recording.
- Find one or two seconds containing only the unwanted background sound.
- Capture or learn that section as the noise profile if the editor offers this option.
- Select the recording and apply a modest amount of noise reduction.
- Preview quiet speech, loud speech and pauses before accepting the effect.
- Use light EQ or normalization only after the noise reduction sounds natural.
See Music Editor Free for Windows 11/10
First identify the kind of noise
Different noises need different fixes. Listen to a quiet section and compare it with this table:
| Noise | Typical cause | Best first approach |
|---|---|---|
| Steady hiss | Microphone preamp, air conditioning or recording gain | Noise profile and gentle reduction |
| Low hum | Electrical mains, cable or ground problem | Narrow hum/notch filtering, then light reduction |
| Rumble | Desk vibration, traffic or handling | High-pass filter where appropriate |
| Clicks | Mouth noise, cable faults or digital glitches | Manual repair or click-removal tool |
| Changing voices or music | TV, café or people in the background | Manual editing; profile reduction is less effective |
Noise reduction works best on sound that remains fairly constant. A barking dog, another speaker or loud music overlaps the wanted recording and usually cannot be removed cleanly with one filter.
Step-by-step: clean a recording in Music Editor Free
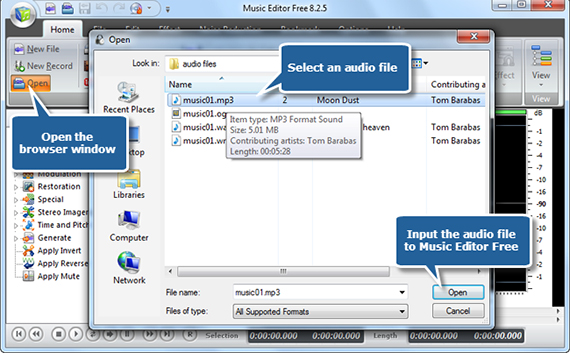
1. Open a copy and inspect the waveform
Keep the untouched original. Open the working copy and listen through the recording once. Note where the noise is easiest to hear and where the wanted voice is quietest; these are the places most likely to reveal over-processing.
2. Select a noise-only sample
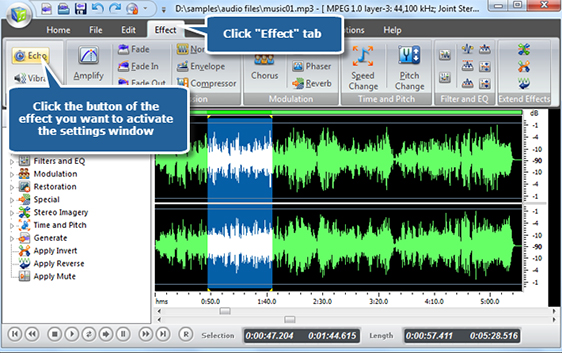
Look for one or two seconds with no speech or music—perhaps just before the speaker begins. Select only the background sound. Do not include a breath, consonant or reverb tail, because the editor may treat that useful sound as noise.
If your effect provides a “learn,” “capture profile” or similar command, use the selected sample. If it offers only an immediate noise-reduction control, start with a small setting and test it on a short copy of the affected region.
3. Apply conservative noise reduction
Select the relevant recording and open the noise-reduction effect. Begin gently. A small amount applied well usually sounds more natural than an aggressive setting that tries to create perfect silence.
Preview three places before accepting the effect:
- a quiet word or soft musical passage;
- a loud passage with strong high-frequency detail;
- a pause where only the reduced background remains.
If speech becomes watery, robotic or metallic, undo and reduce the strength. That sound is a clear sign that the filter is removing parts of the wanted signal.
4. Remove low rumble only when necessary
For voice recordings, a gentle high-pass filter can reduce desk vibration and very low-frequency rumble. Do not push the cutoff too high: it can make a voice thin. Bass instruments and low voices require even more care.
5. Adjust level after cleaning
Noise reduction changes the balance of the recording. Apply normalization or modest amplification only after the cleanup. Leave headroom so loud peaks do not clip. Compression can make speech more even, but it may also raise the remaining background noise between words, so use it sparingly.
6. Export a master and a sharing copy
Save a WAV master if the recording is important or may need more work. Then create an MP3 for email, web publishing or portable playback. Avoid repeatedly exporting to MP3 during editing because every lossy encode can reduce quality.
What if Windows 11 cannot see the microphone?
Noise cleanup starts with a usable recording. In Windows 11, check Settings → Privacy & security → Microphone and make sure microphone access is enabled for desktop apps. Then confirm that the intended device is selected under Settings → System → Sound → Input. Microsoft’s official audio troubleshooting guide covers permissions, devices, drivers and the Windows Audio services.
How to prevent background noise before recording
A cleaner recording always beats stronger processing. These changes often deliver a larger improvement than another filter:
- Move the microphone closer to the speaker and lower the input gain.
- Point the least-sensitive side of the microphone toward a fan or computer.
- Turn off unnecessary fans, air conditioners and speakers.
- Put the microphone on a separate stand instead of a vibrating desk.
- Record soft furnishings rather than bare reflective walls when possible.
- Capture five seconds of room tone before speaking; it provides a clean noise sample.
- Use headphones to prevent the microphone from re-recording speaker output.
Common noise-reduction mistakes
Trying to make every pause completely silent
Real rooms have a noise floor. Removing all of it can make the voice sound disconnected and can create distracting changes between speech and silence. Aim for quieter, not unnaturally empty.
Learning a noise profile that contains speech
The effect may remove similar frequencies from every word. Choose a sample with only the steady unwanted sound.
Applying several strong filters
Heavy noise reduction, EQ, compression and normalization can compound artifacts. Make one small change at a time and compare it with the original.
Judging only through laptop speakers
Laptop speakers can hide hiss and low rumble. Check the final file on headphones and at least one ordinary speaker before publishing it.
Frequently asked questions
Can background noise be removed completely?
Steady hiss or hum can often be reduced substantially. Noise that overlaps speech or music usually cannot be removed completely without damaging the wanted sound.
Why does noise reduction make my voice sound robotic?
The effect is too aggressive, the noise sample contains part of the voice, or the noise changes over time. Undo, capture a cleaner profile and apply a smaller reduction.
Should I normalize before or after noise reduction?
Usually after. Normalizing first raises both the wanted recording and its noise, making later decisions harder. Clean conservatively, then set the final level.
Can Windows Sound Recorder remove noise?
Windows Sound Recorder is useful for basic capture and playback, but a waveform editor provides more direct control over selecting noise, applying effects and checking the result before export.
Does a higher MP3 bitrate remove noise?
No. Bitrate controls compression quality; it does not remove noise already present in the recording. Apply cleanup before the final export.
Final checklist
- Keep the original.
- Use a true noise-only sample.
- Reduce gently and preview several sections.
- Stop when artifacts become more distracting than the noise.
- Set final loudness after cleanup.
- Export once and listen to the complete file.
Explore Music Editor Free for Windows 11/10 See the audio-effects tutorial